|
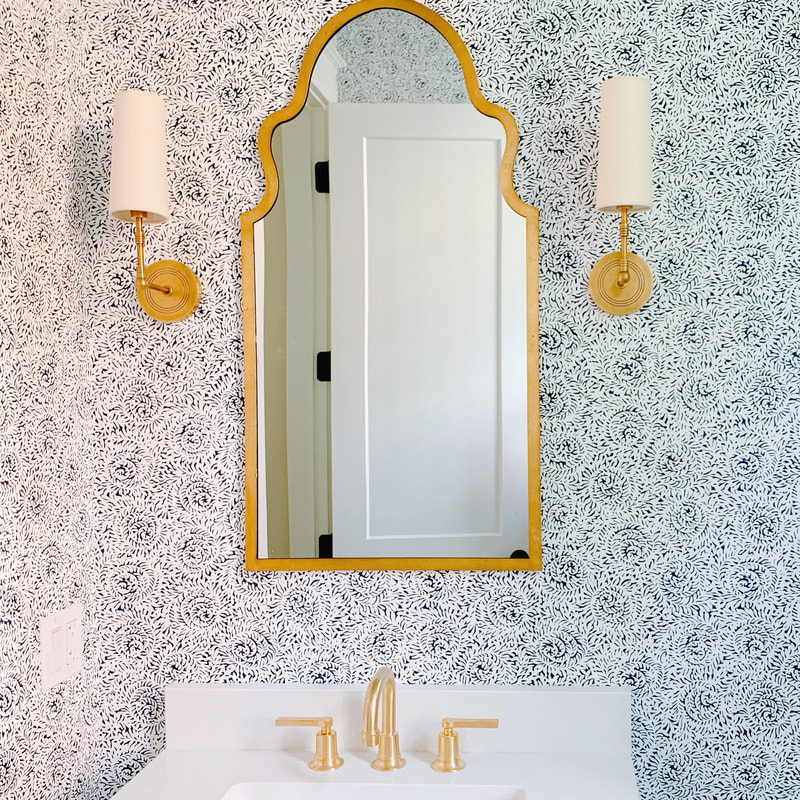
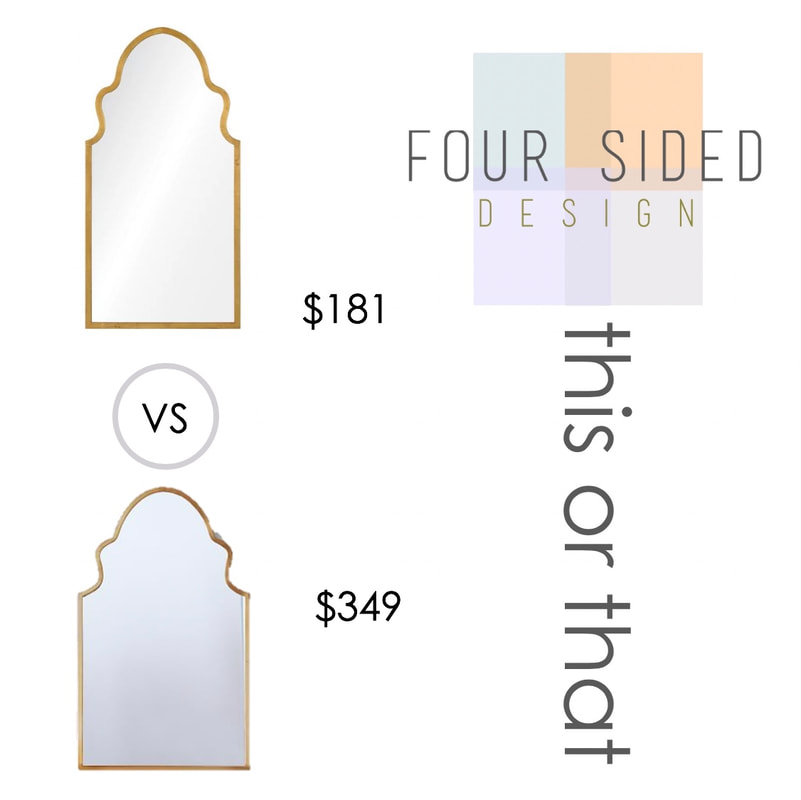
Check out these mirrors that can fit multiple budgets. We love using them in bathrooms for added interest.
Pottery Barn Wayfair
1 Comment
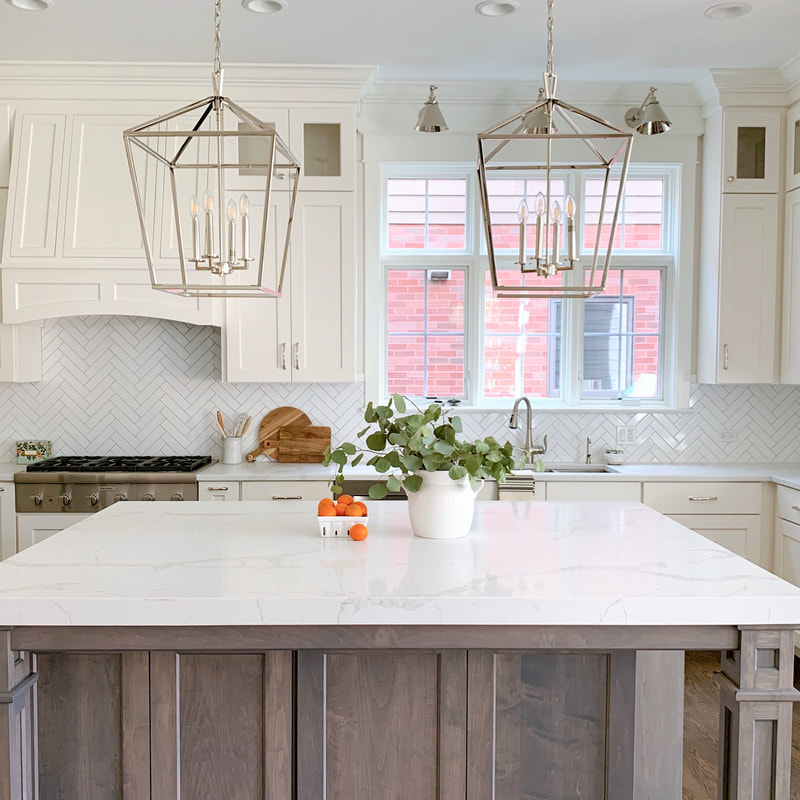
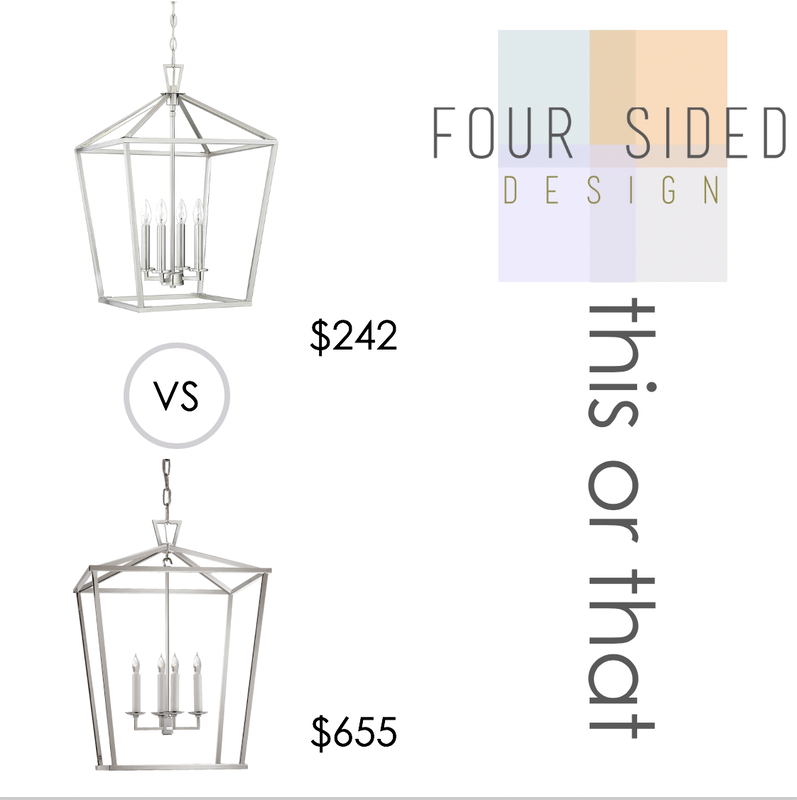
We love these lantern lights over an island or in an entry way. Check out the links below to see how you can score one of these beauties for half the price.
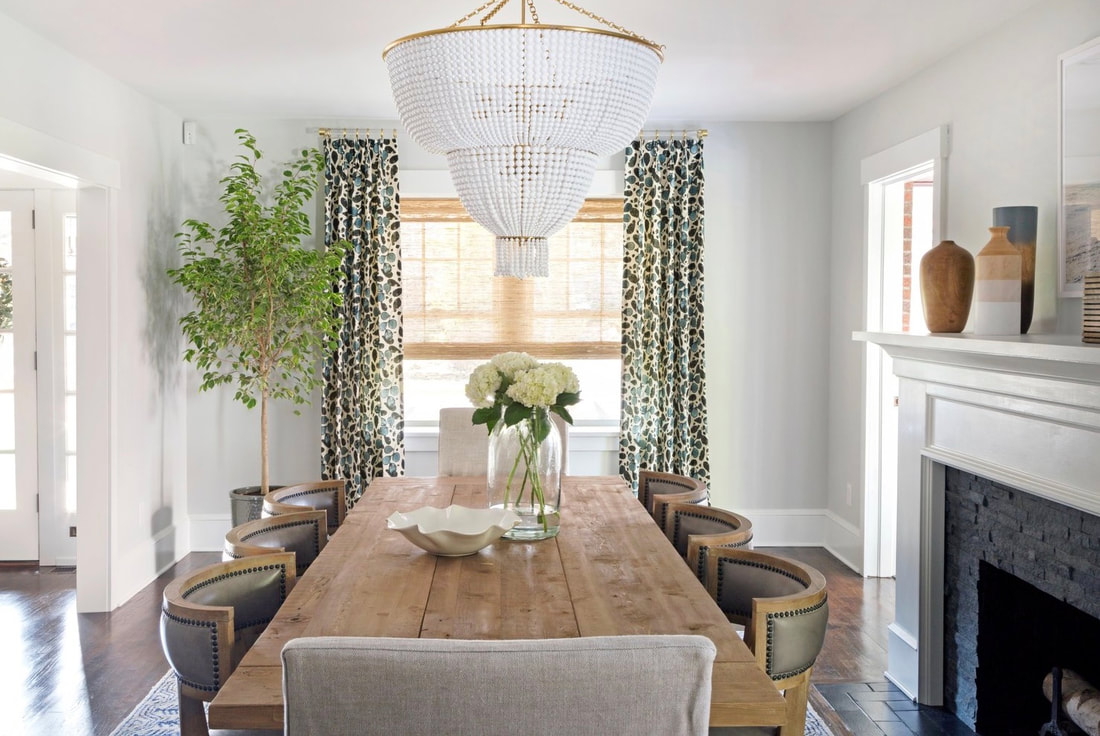
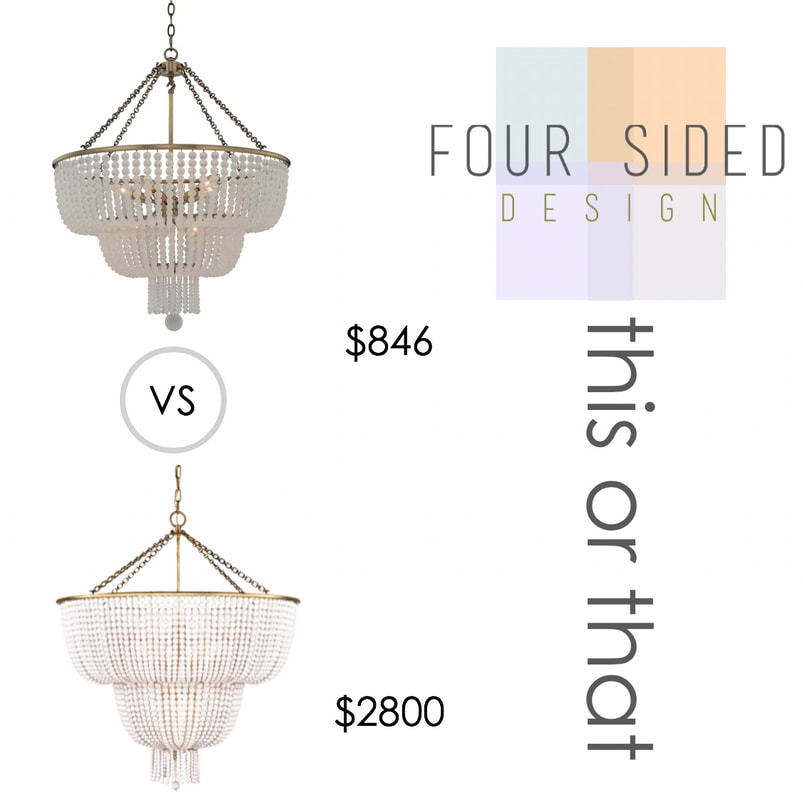
Darlana Lantern Wayfair We love the two-tier Jacqueline Chandelier, but if $2,800 is not in your lighting budget you may want to check out it's look-alike that is nearly $2,000 cheaper. Think of all the additional design projects you could do with those savings :)
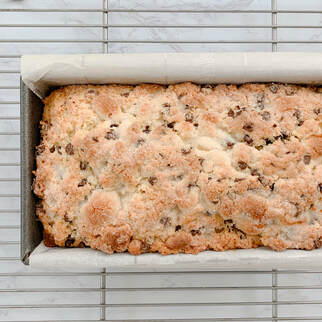
Jacqueline Chandelier Havasu Falls Chandelier One of my favorite treats (especially on a cold day) is Molly Yeh's Dark Chocolate and Marzipan Scone Loaf. A friend of mine recommended using mini chocolate chips instead of chunks and I agree it is a good move. I hope you enjoy - happy baking (and eating)!
Directions
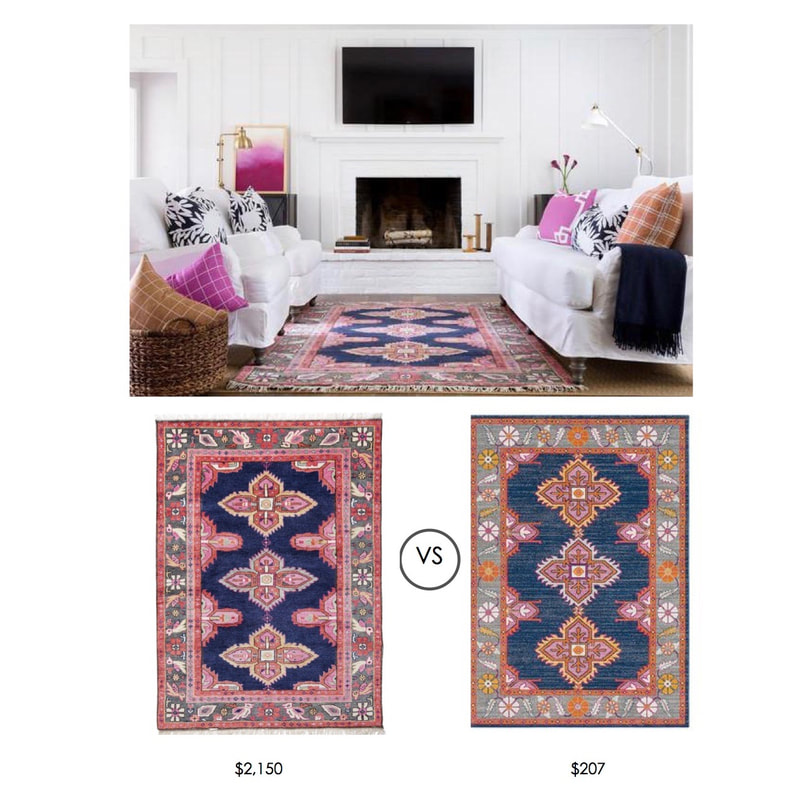
Nothing beats this Caitlin Wilson rug - she has my heart. But sometimes a $2,000 rug just isn't in the budget. The one on the right has a similar feel for just a fraction of the cost. Check out the links below if you are interested in adding one of these lucky guys to your home. Find this beauty: Caitlin Wilson Rug A budget friendly version: Knock-off Rug
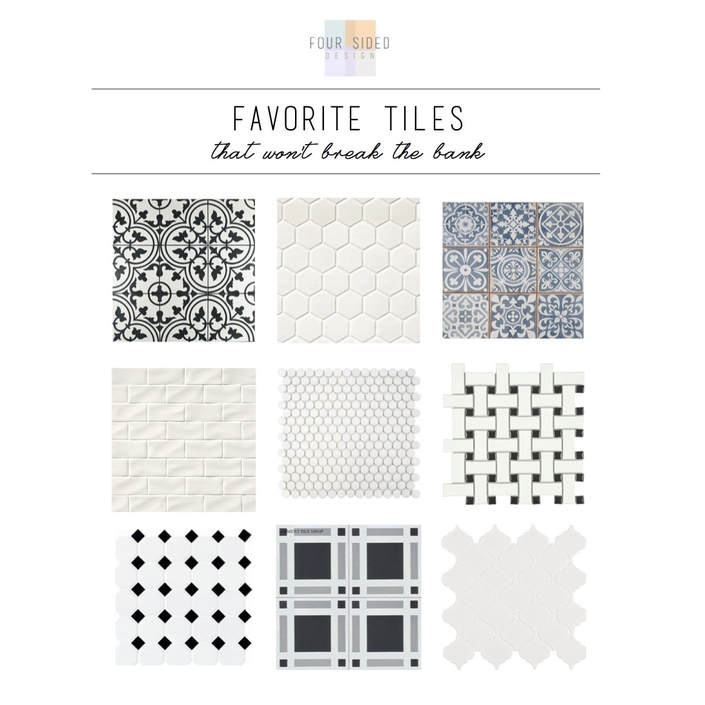
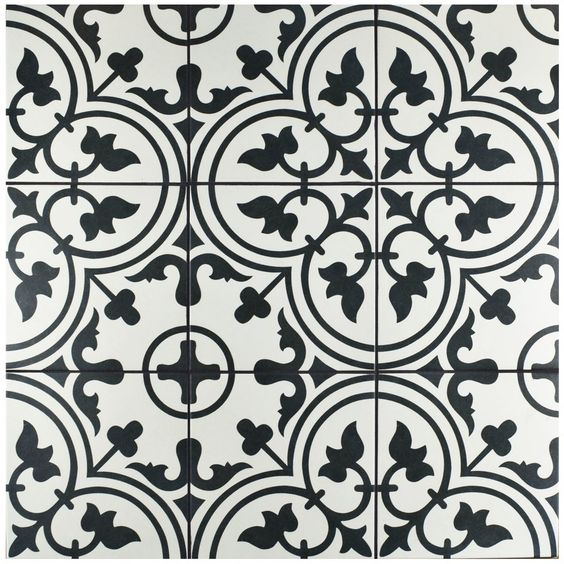
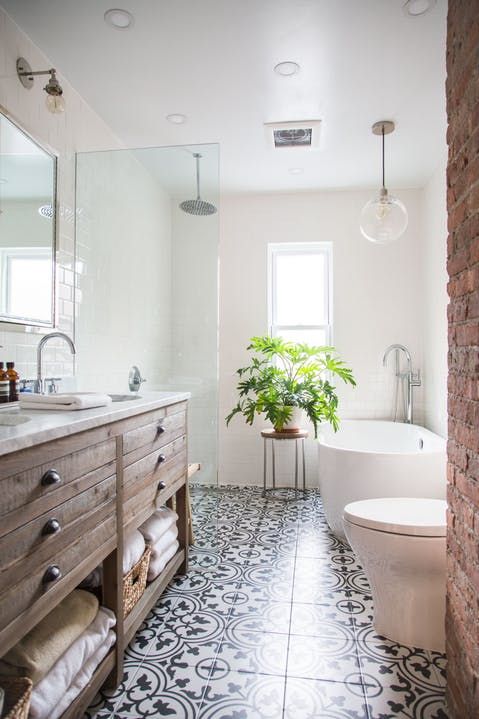
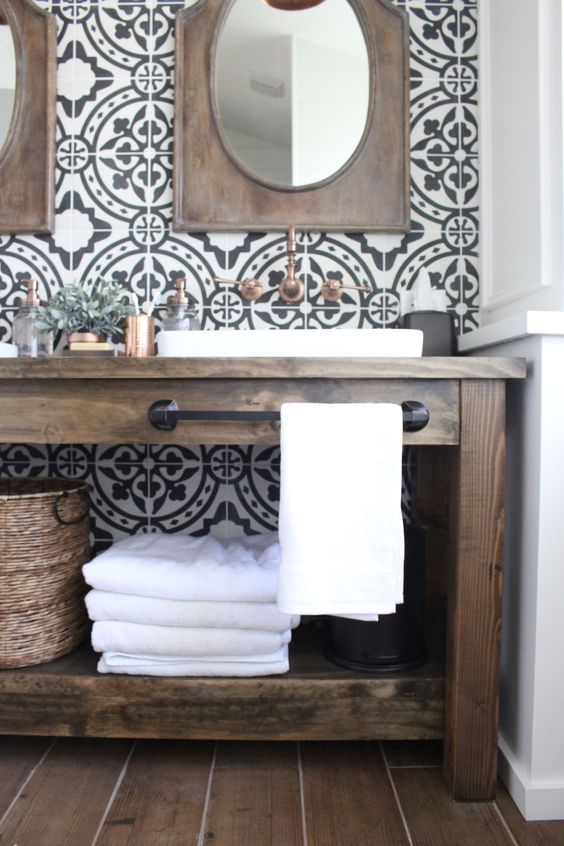
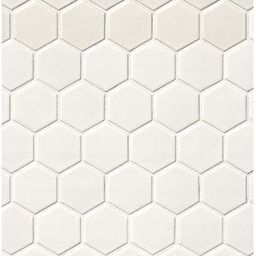
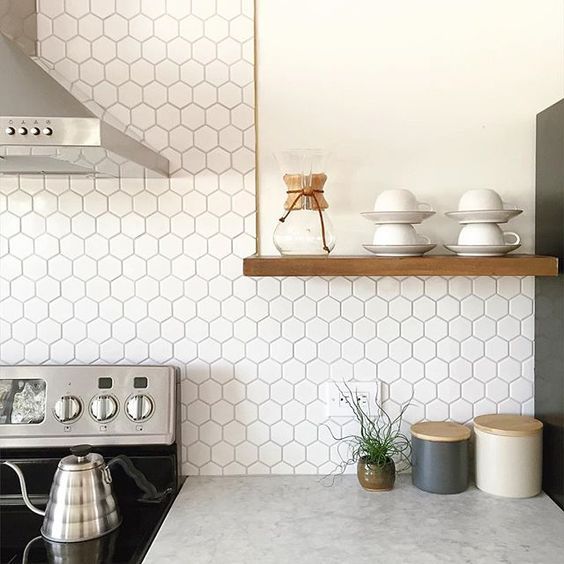
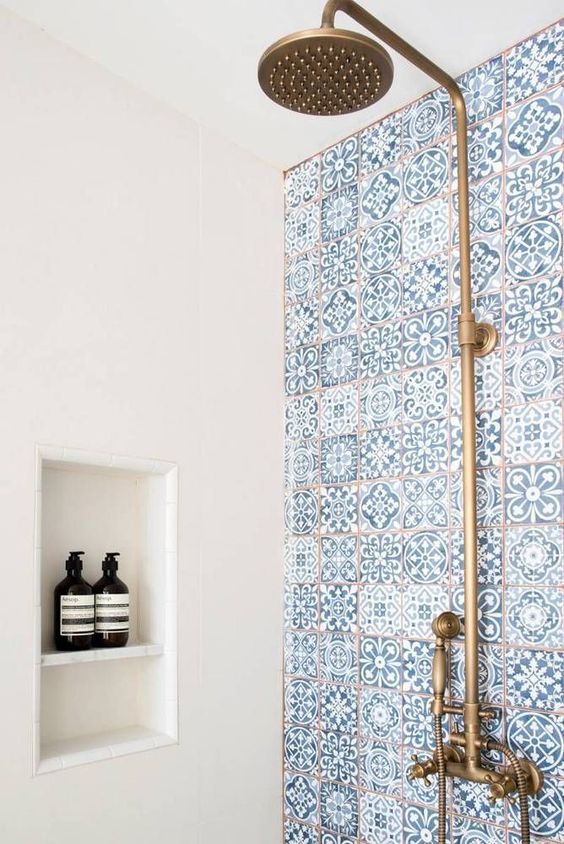
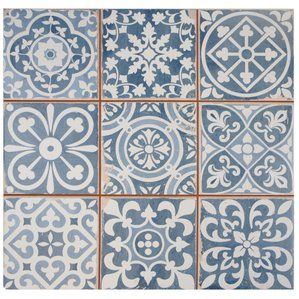
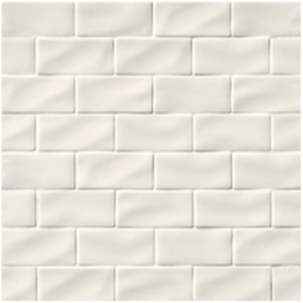
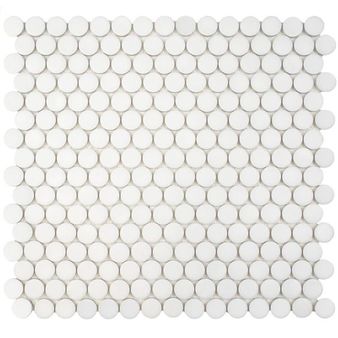
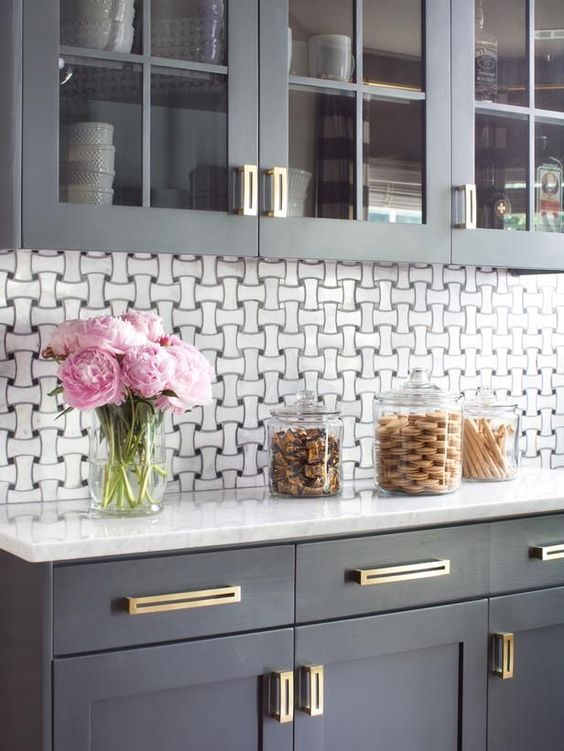
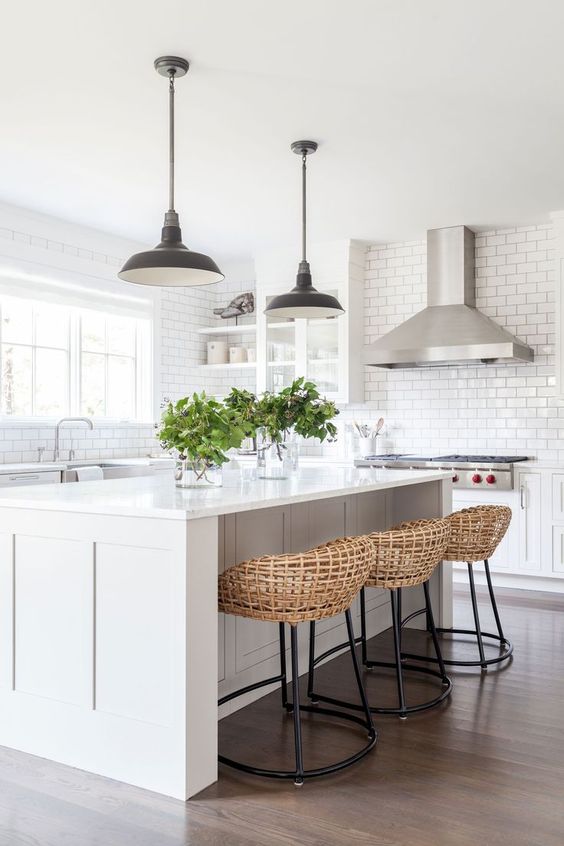
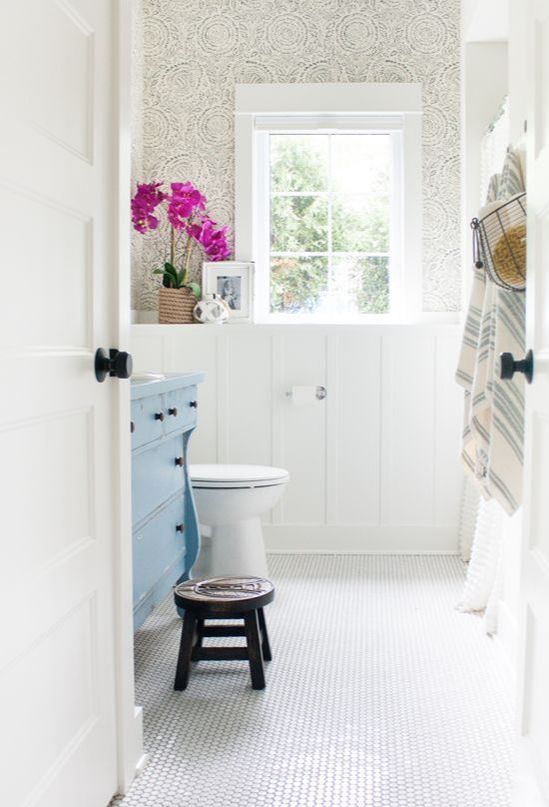
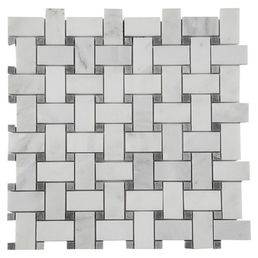
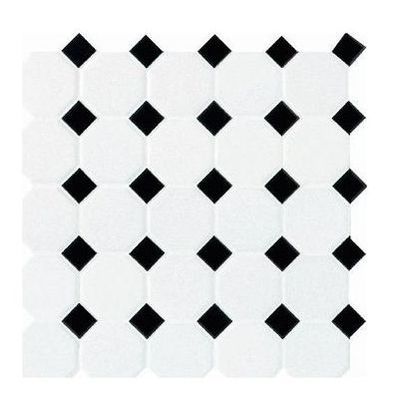
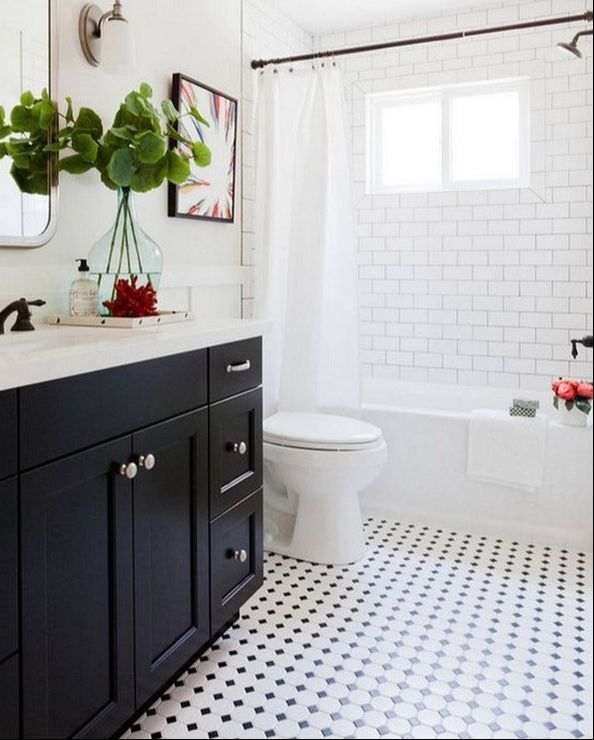
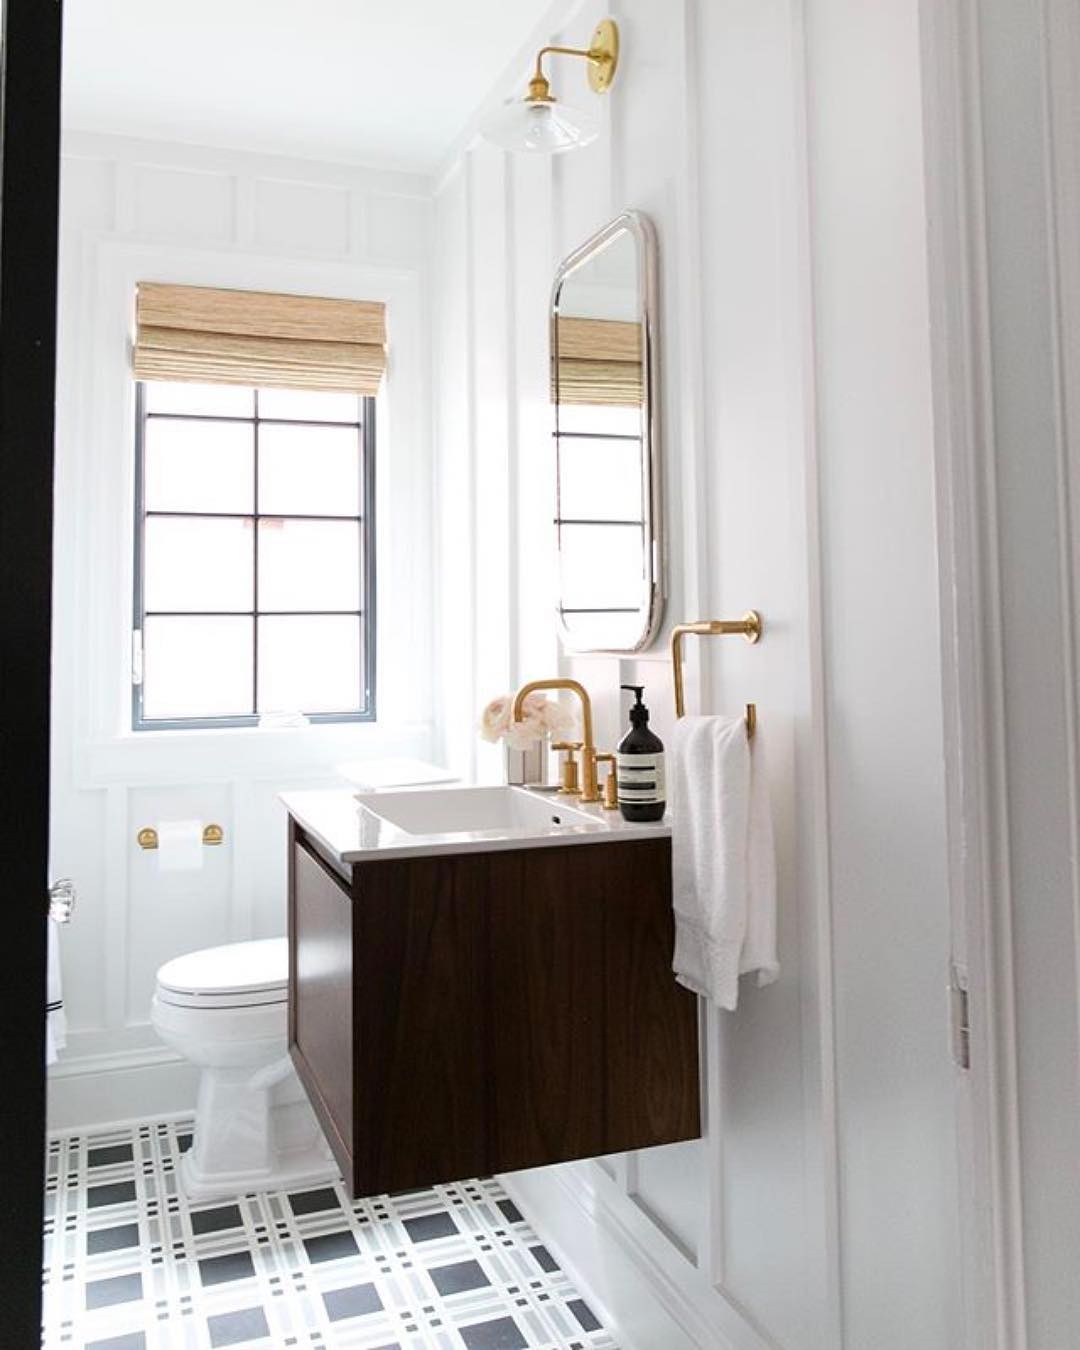
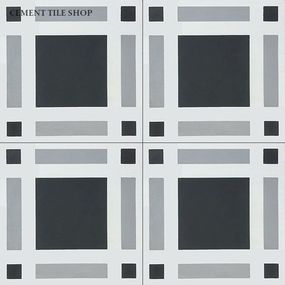
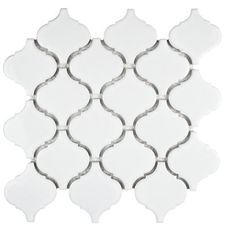
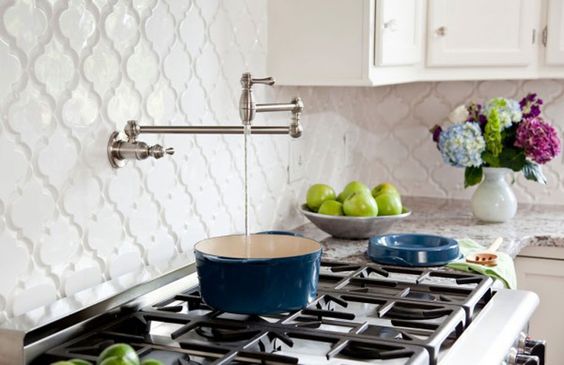
When designing a space every element contributes to the bigger picture. Tiles are an opportunity to integrate pattern, character, color and movement. With so many options out there, it can sometimes get overwhelming. So to help, we've rounded up of some of our favorite tiles on the market. They have the versatility to be used on floors and walls and with the majority coming in under $10, you can't go wrong.
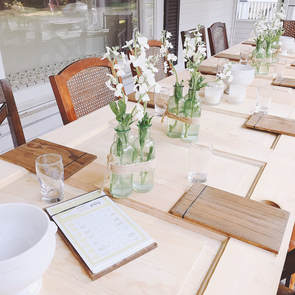
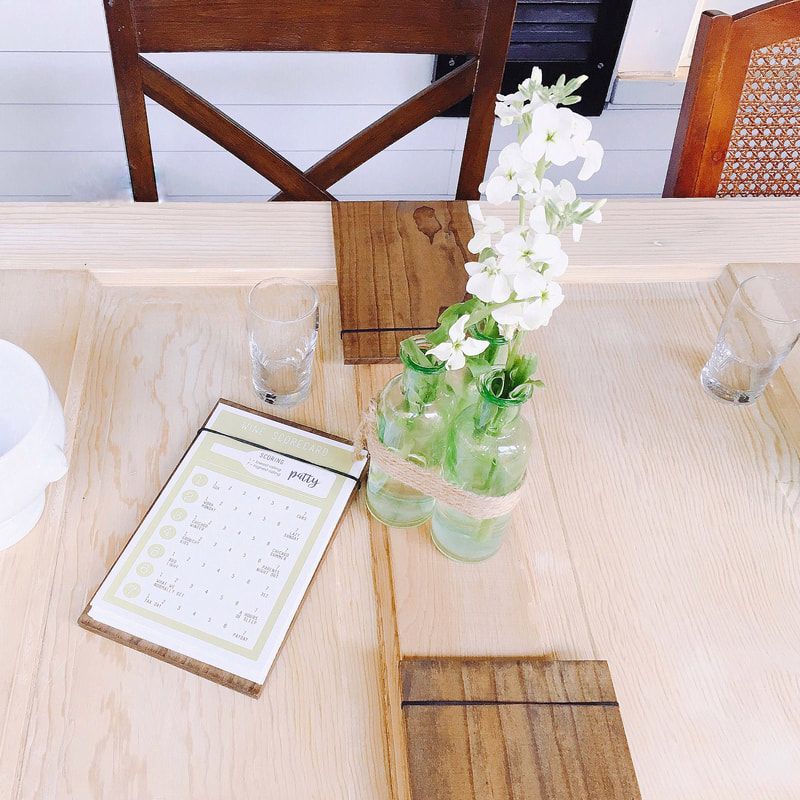
When I was younger my nana used to tell me how much the two of us were alike – that we both loved to entertain – and she was right. While some people can’t stand the idea of hosting a party, I love it. I love thinking about the details - the colors, sounds, smells and tastes and how they all work together to make something bigger than itself. It’s a personal process that I pour myself into, so while I may not be an Italian grandmother showing her love through platefuls of pasta, I hope my guests can feel the love through the details.
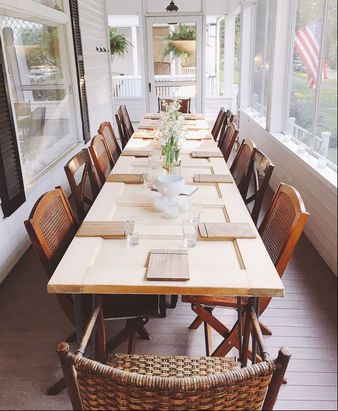
Unfortunately, as old homes shift and move, some pieces just don’t fit together as they should. And as the kids have gotten older, the desire to have bedroom and bathroom doors that shut and remain shut has moved higher to the top of the priority list. We now have new doors that fully shut but I was unable to bring myself to get rid of our original doors. So with 13 stripped doors in the basement, I told my husband that I was going to use them to build our tables for the night. I found amazing mid-century hairpin legs that would hold the weight of the door. With a quick drill to each corner, we now had two long and narrow tables. I left the original door plates on them, because why not - in my opinion, it is just more character.
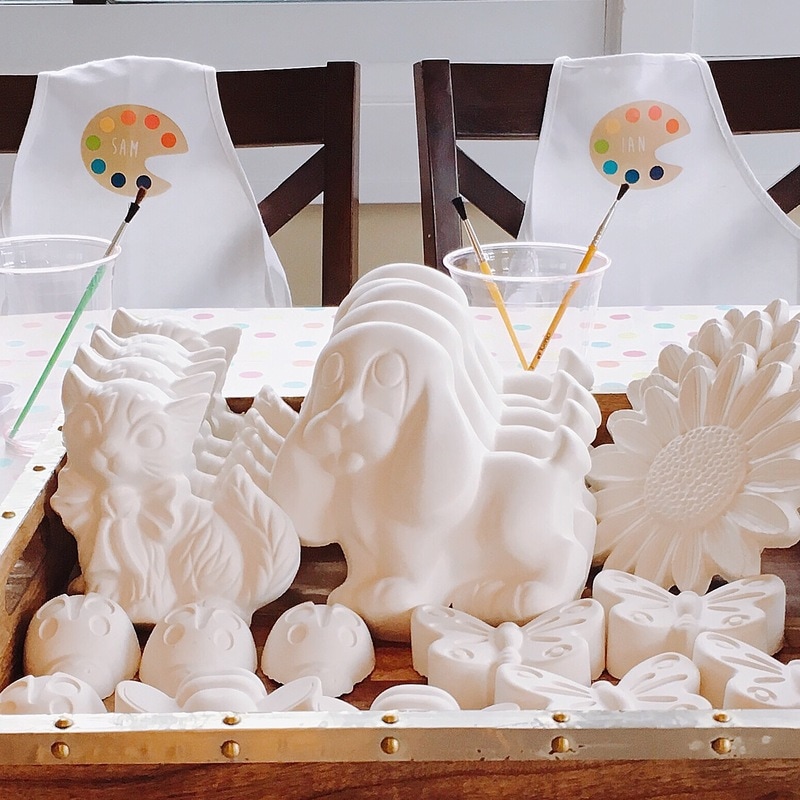
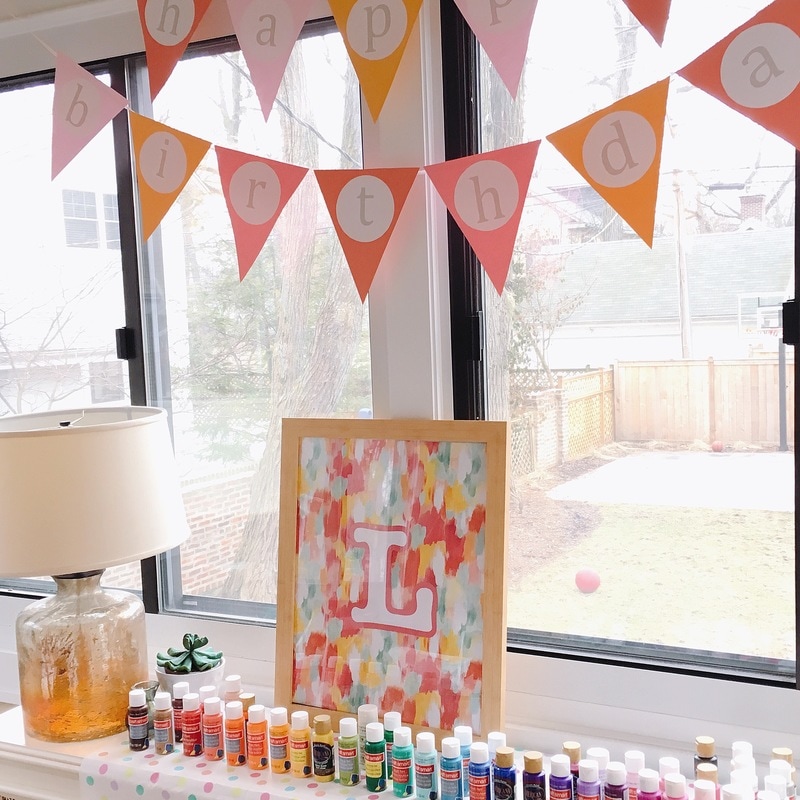
We recently celebrated my daughter’s fifth birthday in an all out painting party. I have grown up surrounded by a family of talented artists and art has always been a passion of mine so when she told me she wanted an art party, I of course loved the idea.
Before I got started I took a quick peek at Pinterest to gain some inspiration. There are so many great ideas out there, but what I love best is taking those ideas and making them your own - even if it is just making a few little tweaks. My Pinterest search turned up plenty of painting parties, and while I can appreciate a good rainbow, nearly everything I saw was centered around those 6 magic colors. I knew immediately that I wanted to go in a different direction and my first step was to pick a color scheme. I hopped over to Paper Source and perused their goods...and there are so many. When I spotted their brushstrokes paper, I knew I had found just what I was looking for. I grabbed several rolls knowing it would play a key part in helping tie everything together.
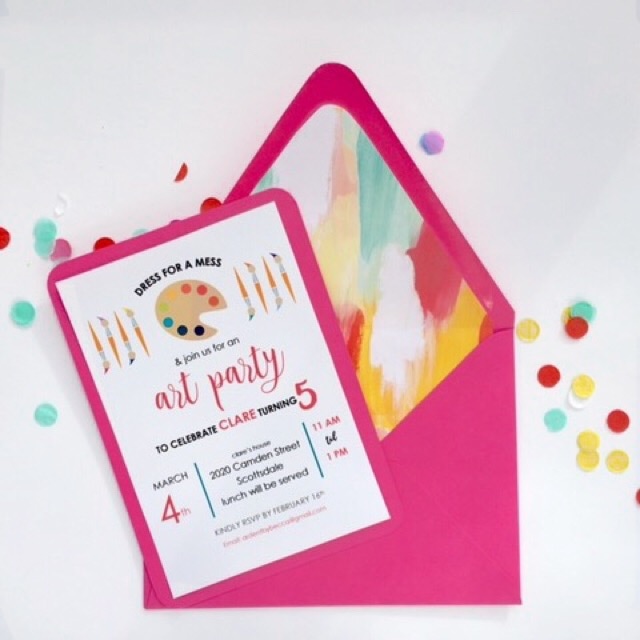
With paper in hand, my first step was to work on the invitation. I designed something simple on my computer tying in pink and teal. I used the brushstrokes paper as a liner for the envelopes and hand wrote names in a simple font on the front.
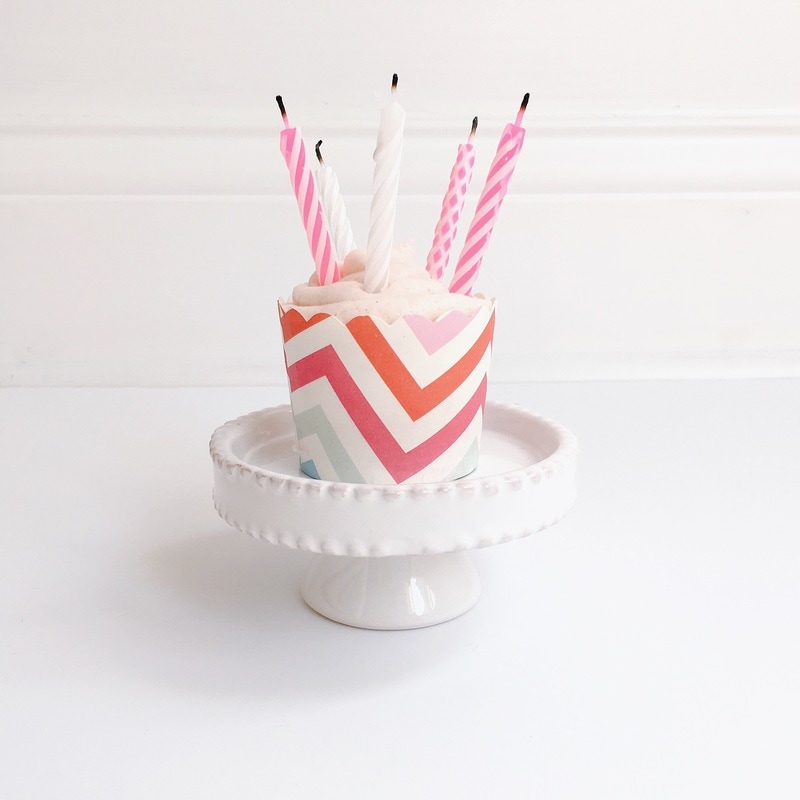
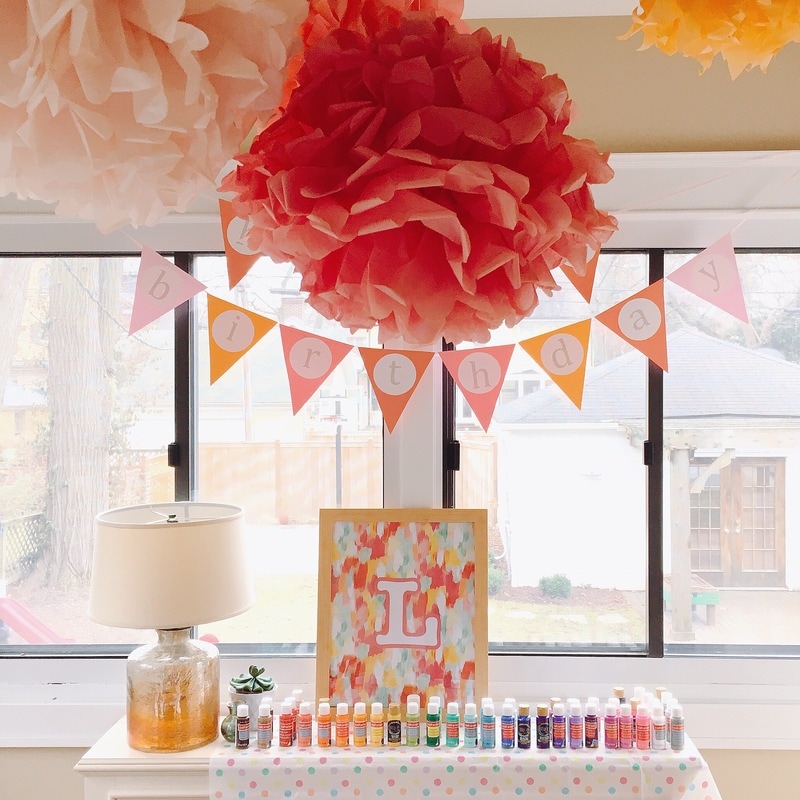
Next, I pulled cupcake liners, straws, tissue paper pom poms, my nana’s pink tablecloth and a few other goodies to help create a cohesive look.
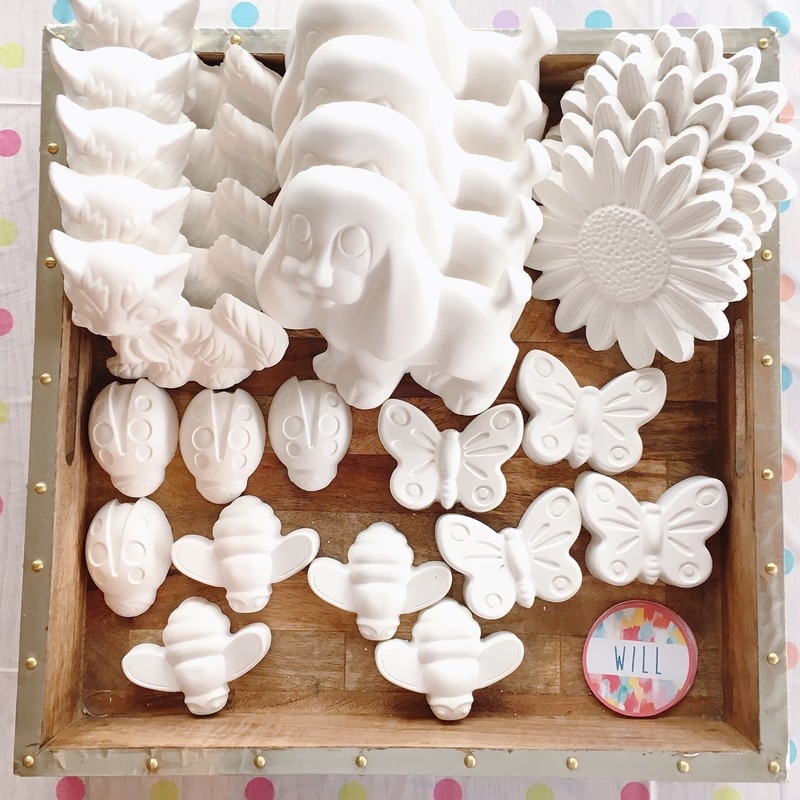
Once the back end of the details were set, it was time to focus on the events of the day. Instead of painting on canvases I knew right away that I wanted to do something that I loved as a child and paint ceramics. When I was a little girl, we had a small neighborhood place called the Snoop Shop. It was a childs dream - a messy room filled with hundreds of ceramic pieces begging to be painted, a table full of paints, old orange juice concentrate cans filled with water and men's dress shirts to be used as smocks. On top of that, Mimi the owner was like everyone's favorite grandma, ready to help you roll up your sleeves and paint! It’s not terribly easy to come across sizeable ceramic pieces for kids to paint without paying a fortune, so I did a little searching and came across some ceramic molds. The price was right and all it would require from me was a little time and and a 10 lb. tub of plaster of paris.
Knowing that kids finish things at different times, I also created a few smaller pieces and had some other small crafts that they could do on their own once they were done.
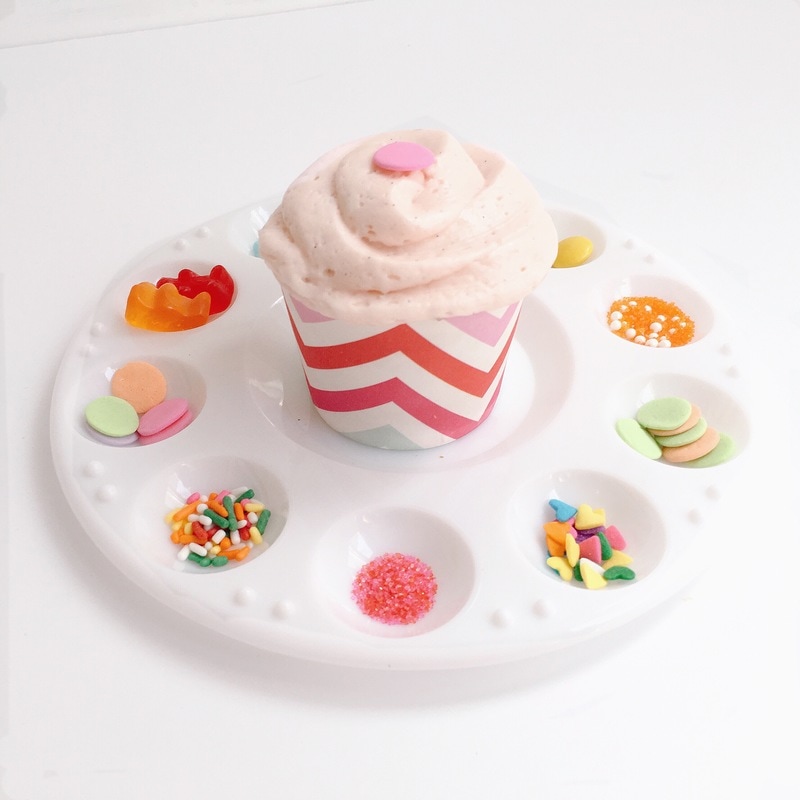
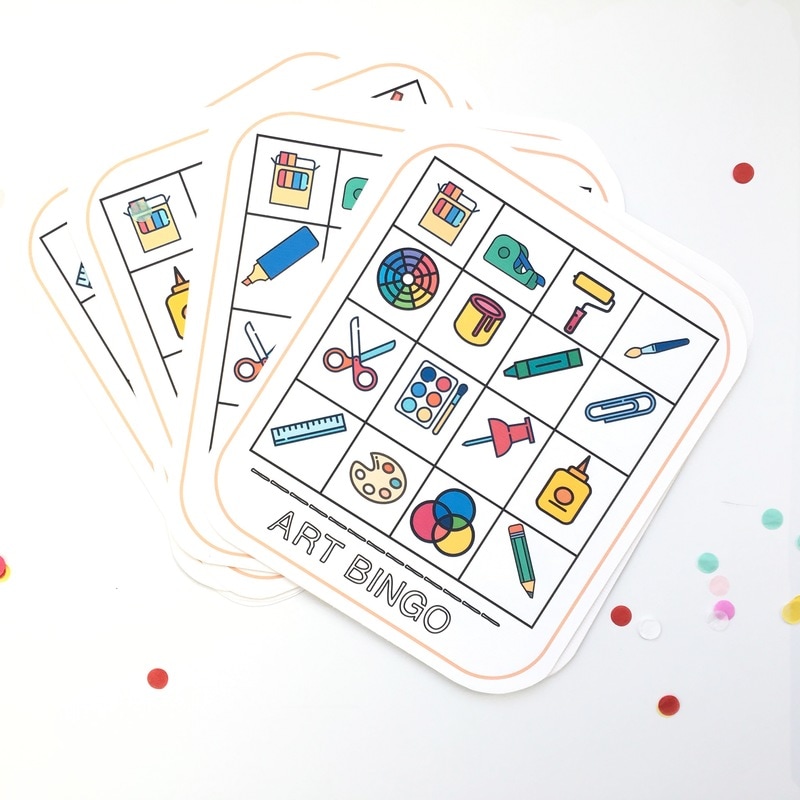
Lunch was simple: pizza, fruit and veggies with some lemonade. For dessert each child was served a cupcake on a palette filled with sprinkles that they could decorate in any style they chose. After lunch we played a few rounds of art bingo using boards I created to go with the theme until it was time to go.
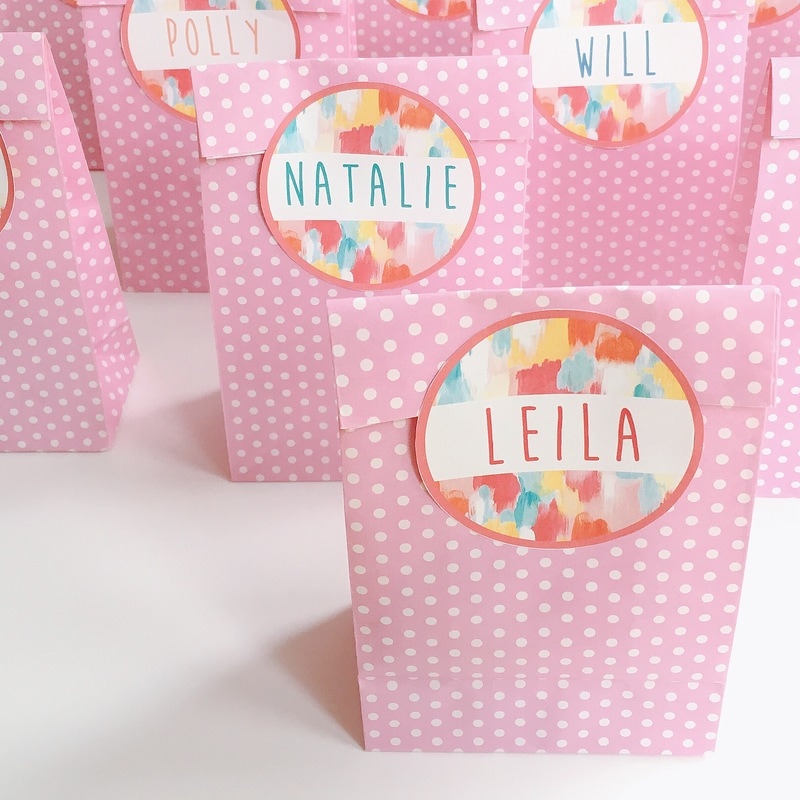
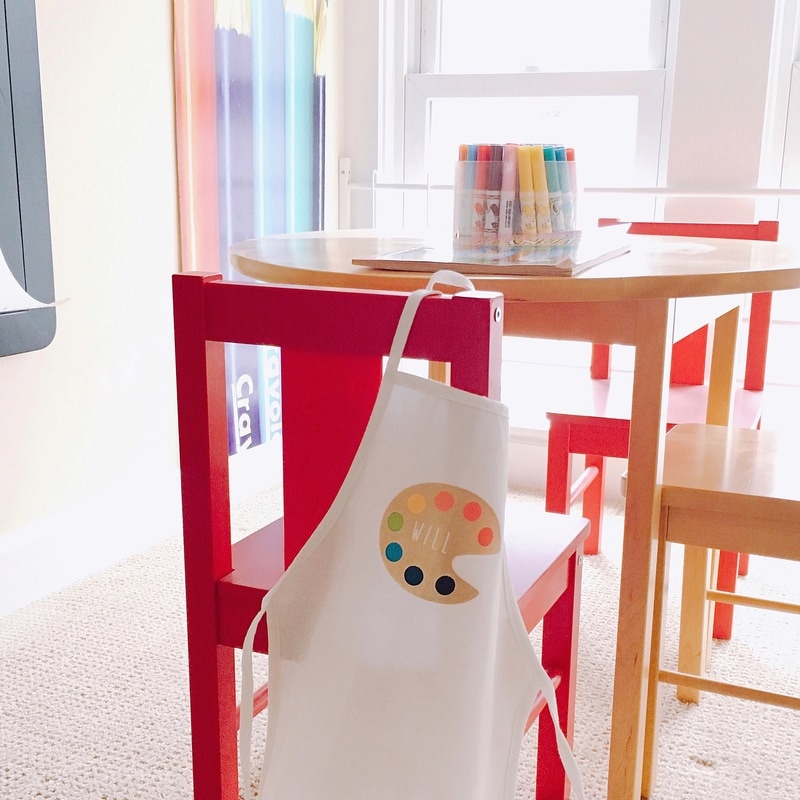
Their take home favors were personalized smocks I created, using the same icon from the invitation. They used them during the party and they will hopefully get some good use out of them in the future. I also made painter’s palette sugar cookies that they could take home along with their painted piece. In the end, I think it was a total success. The kids had a great time and we managed to not spill too much paint!
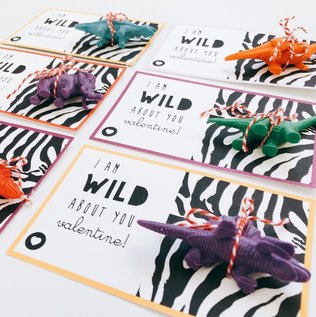
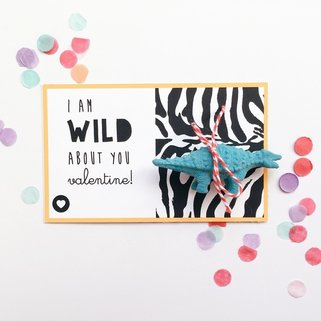
Here are the dinosaur valentines I made. There is a small heart icon at the bottom of each card so you can sign your name. If you don't own a spool of baker's twine, you should definitely grab some. Red twine is my favorite because it can be used in so many ways and goes well with a ton of color schemes. I found a bag of the dinosaur erasers in the dollar bin. If you can't track down an eraser a small dinosaur figure would work as well. Have a great Valentine's Day!
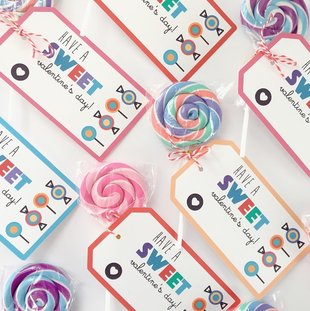
As promised, here the valentines I created for my son's class. On a quick shopping trip to grab some ink for my printer I spotted these lollipop erasers for 10 cents a pop in a clearance bin at Office Depot. At the time I had no idea what I was going to do with them, but realized that the worst case scenario was that I would be out $1.80. With a bag of lollipops in tow, I made a quick card with four different trims on my computer and placed a small heart icon on the bottom of each card where my son could sign his name. After cutting out each card, I used a small hole puncher and baker's twine to fasten the card to the lollipop. Feel free to use the PDF attachment below for your personal use. If you don't stumble across the eraser version of a lollipop (although I am sure Amazon would have you covered), I think the edible version would be equally great. Happy Valentine's Day!
|
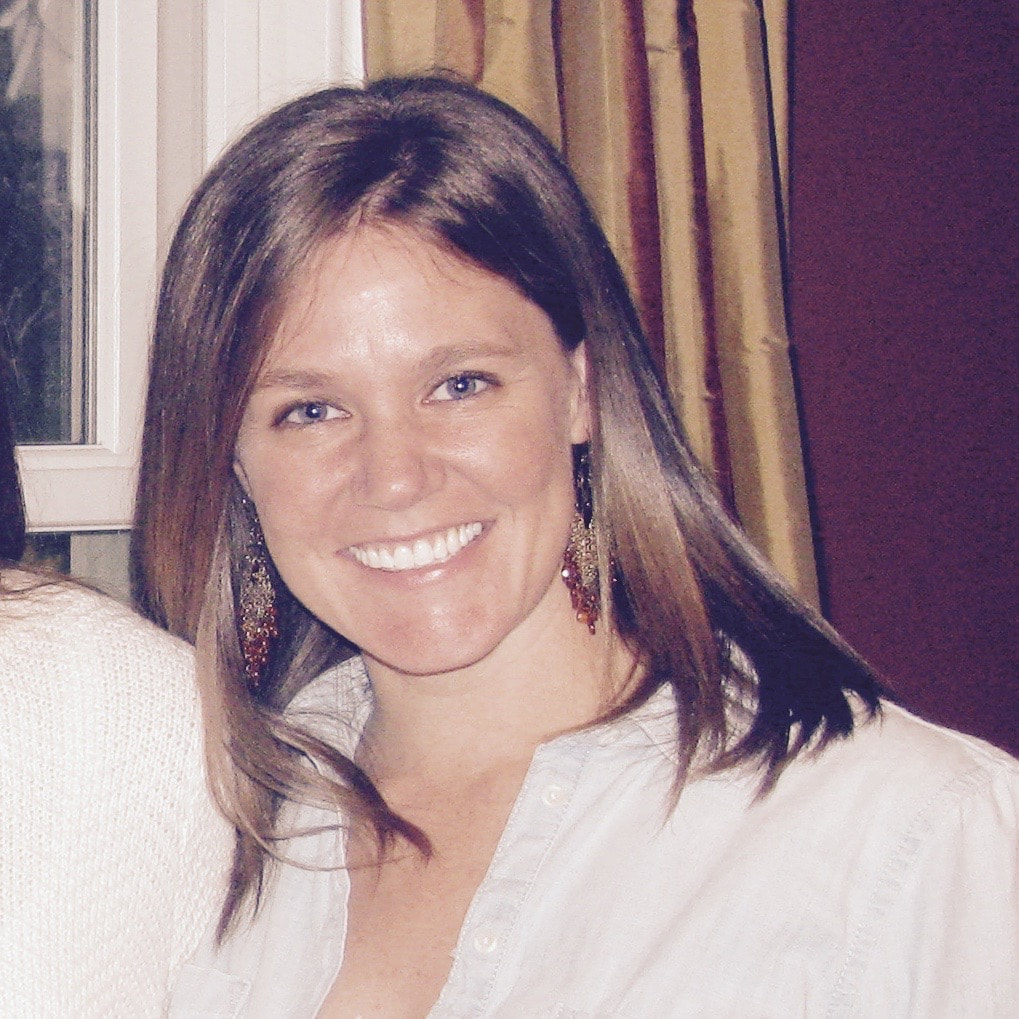
Hello!I'm Becca - owner of Four Sided Design. This is a place for us to share inspiration for your home and some of our favorite DIY projects. Archives
February 2020
Categories |
||||||||||||||||||||

















 RSS Feed