|
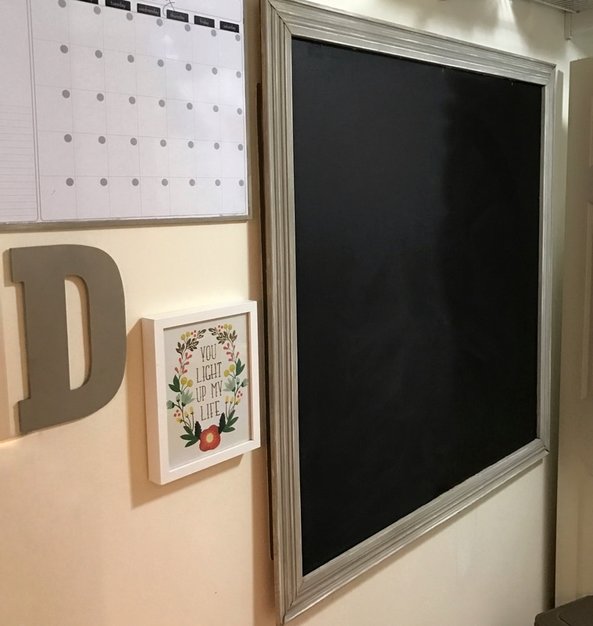
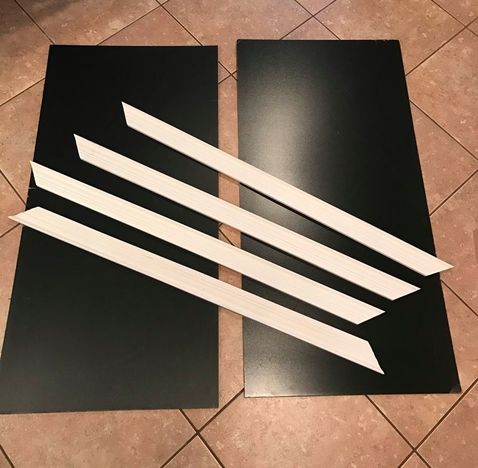
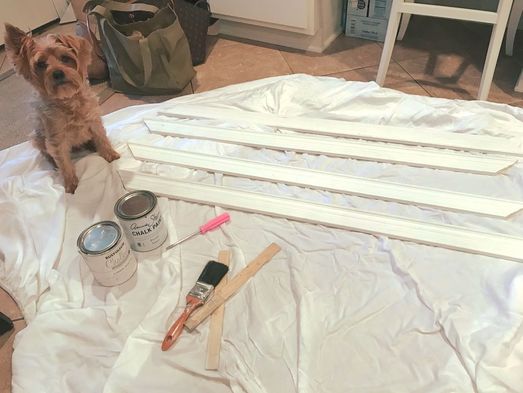
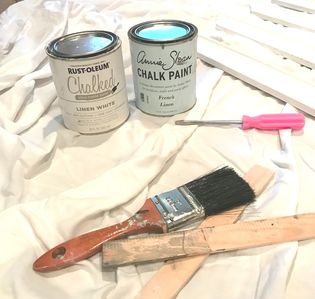
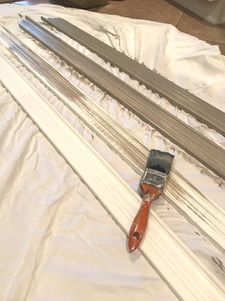
My husband and I have lived in our home for 3 years now. We knew when we bought it that this was never our “forever home”. We were on a 3-5 year plan. That being said, there of course were elements of it that I wanted to change to make it feel more like home - a better representation of our style. The first thing we did a few months after purchasing our home was paint the kitchen cabinets. (For a brief moment I thought that I would tackle that project on my own, but then I realized that our time would be better spent if we outsourced it. And I was right! We have A LOT of cabinets!) I’m fortunate because we have a very large kitchen which we spend most of our time in, and the cabinet refacing is just what was needed to instantly brighten the room. But - something was still not settling well with me. Just off the kitchen is our laundry room. Like many people, the laundry room is also our command center. It’s where I have bins to store our incoming mail and our family calendar so I can easily glance over as I’m cooking dinner to see what’s going on for the given day, week and month. But, interrupting the space was this (insert sarcasm) nice, long 40” metal electrical box (see photo below). Beautiful, right? I searched high and low for some decorative, functional cork board, whiteboard or chalkboard that would cover this original piece of art, but I could never find anything that was long enough. So it was time to take matters into my own hands. What I envisioned was a chalkboard large enough to cover the majority of the exposed wall. On this chalkboard I would display our weekly meal plan along with shopping lists and an inspirational quote to start the week right. Yes, I use my iPhone to store lists and have apps specific to these exact things, but I’m also a very visual person and the idea of incorporating this into my “command center” where I can easily see it as I’m working in the kitchen was very exciting to me. And I mean - VERY exciting! So I took my measurements, did my research and headed out to Home Depot with my supply list in hand. Luckily they had all of the supplies in stock (you can check the inventory for your local store on the website before you head out) so I was ready to begin assembling as soon as I got home just after the one trip. As a side note, I will say that everyone I encounter at my Home Depot is very friendly and always willing to help out when needed! Admittedly, it can be an intimidating space when you’re shopping amongst contractors in all their gear, but don’t let it deter you - keep pushing on! You’ll be glad you did! I started out with two chalkboards (24” x 48” each). I could have done two separate designs, but my vision was for one large piece (48” x 48”). In order to get the two boards to stay together I also picked up a piece of plywood that measured 24”x 48” (this was in the same section as the chalkboard). I simply put the two chalkboards face down on the floor, placed the plywood centered between the 2 and used wood glue to adhere the plywood to the chalkboards. I used a few heavy books to apply pressure and left this here for a few hours so that I could be sure it set. As that was setting I moved over to the trim pieces. I had my guy at Home Depot cut my trim for me so I didn’t have to worry about doing this at home (this is a free service that they offer - be sure to utilize them!). The trim is beautiful but I wanted to add some color. I’m a huge fan of chalk paint as you’ll soon realize once I share more projects with you. For these pieces I used my Annie Sloan French Linen chalk paint. Since the trim originally was white I did one layer of French Linen and then used 100 grit medium sand paper to softly sand the edges to bring out some of the white to leave an antique finish. Once the trim was dry I flipped the chalkboards over and adhered the trim pieces with wood glue. I applied pressure to these with some additional weight (books, soup cans, whatever you have around the house). I actually let this set overnight. You may want to also use finishing nails to further secure the chalkboards to the trim. Once trim is set in place with the wood glue, flip entire piece over so the back side is facing up and hammer the finishing nails in through the back. Lastly, attach two large sawtooth picture hangers. Before you do this you’ll want to measure the wall where you’ll be hanging this beautiful piece, specifically locating the studs in the wall. Nailing this into the studs will provide extra reinforcement. Mark the wall now so you remember where to go when you’re ready to hang. Once you do that, nail the sawtooth picture hangers onto the back of your board using the measurements from the studs (example: if your studs are 16” apart you’ll want to attach your picture hangers 16” apart. Make sense?). Make sure they are even so you won’t have an uneven board! TIP: the nails that were provided with the sawtooth hangers I purchased kept coming out of the board so we had to use a bigger nail to get it to stay. It worked perfectly! This completes your beautiful, new, one-of-a-kind, custom chalkboard! You’re now ready to get this baby on the wall! Locate those stud markings, get out your drill and hang this precious piece of work! 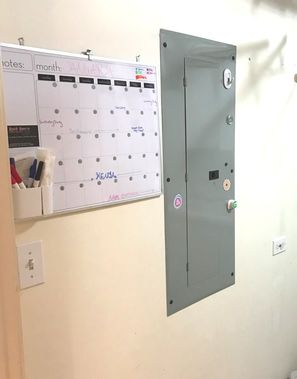 Not that I want to remember how it looked, but here's a look at the "before". So happy I no longer have to stare at this! A few side notes:
I hope you’re in love with yours as much as I am mine! -Lauren Supply List 2 - 24” x 48” Chalkboards 1 - 24” x 48” Plywood 1 - Wood Glue 4 - Pieces of trim, 48” 2 - Sawtooth Picture Hangers Paint or Stain if desired for trim This piece came out to be less than $50.
0 Comments
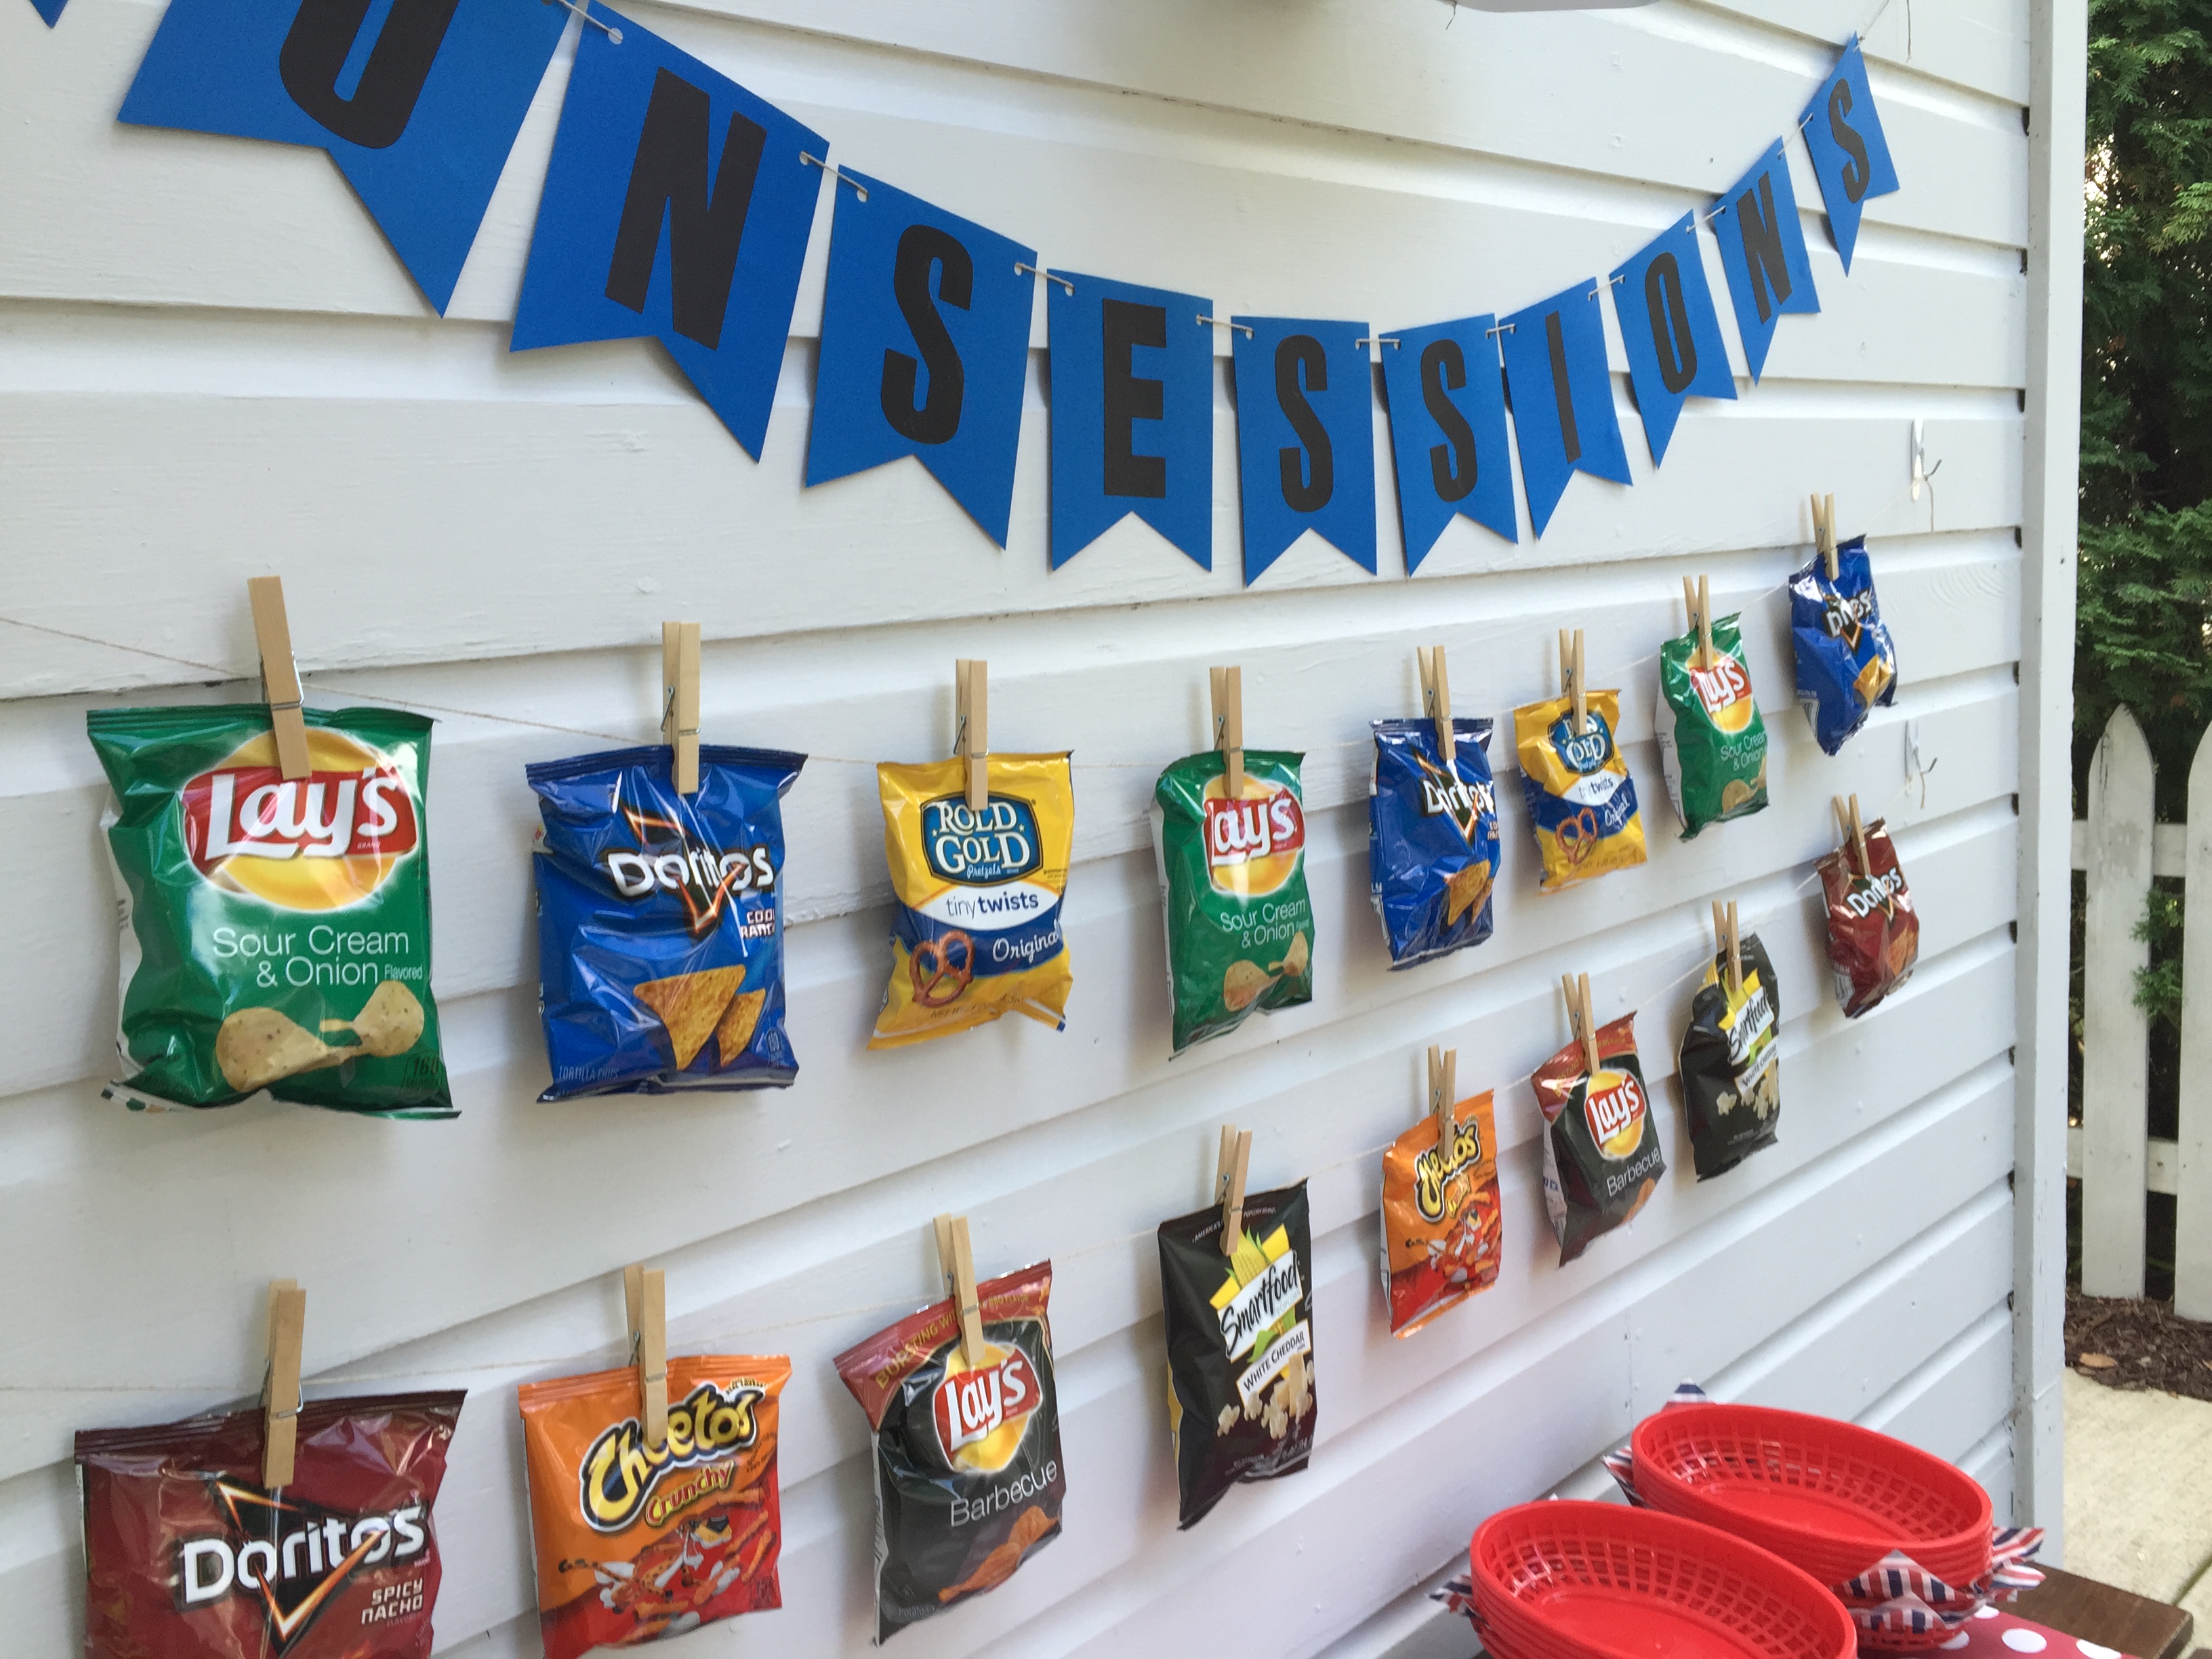
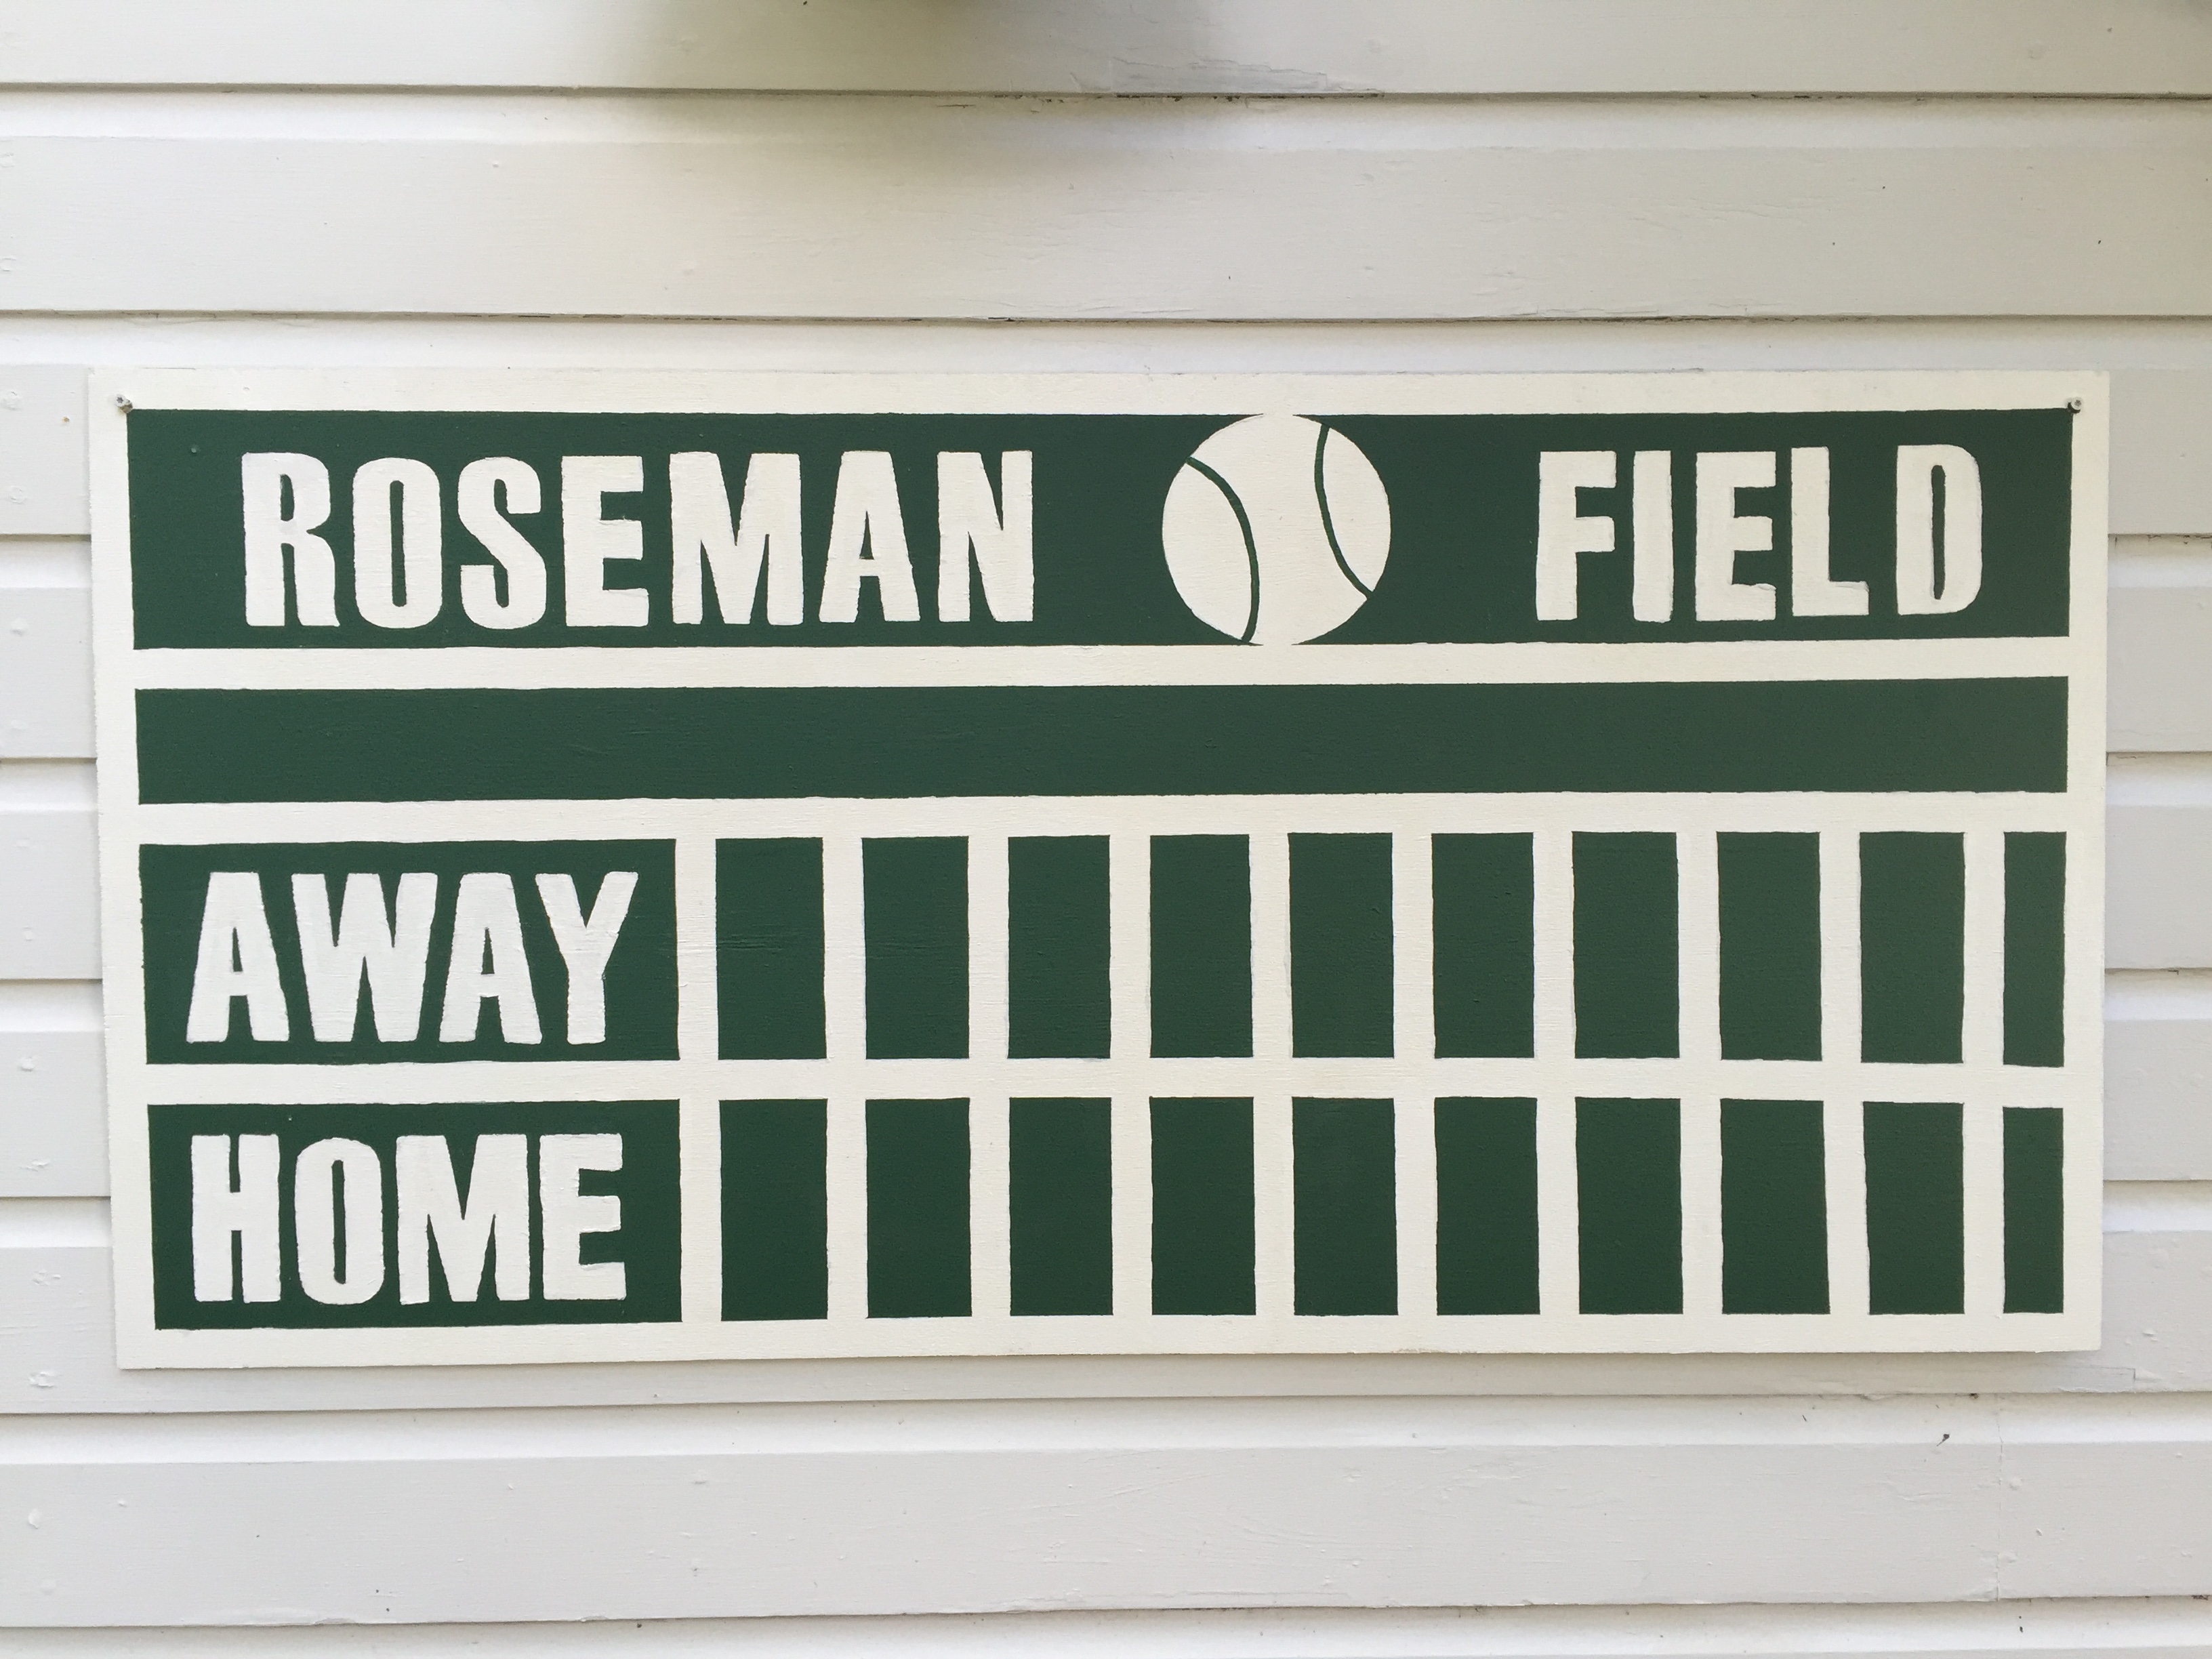
Design follows me everywhere. For my son's sports themed birthday I created a chalkboard scoreboard, centerpieces from my husband's old trophies, a concession stand and old-timey goodies to take home.
|
Hello!I'm Becca - owner of Four Sided Design. This is a place for us to share inspiration for your home and some of our favorite DIY projects. Archives
February 2020
Categories |






 RSS Feed